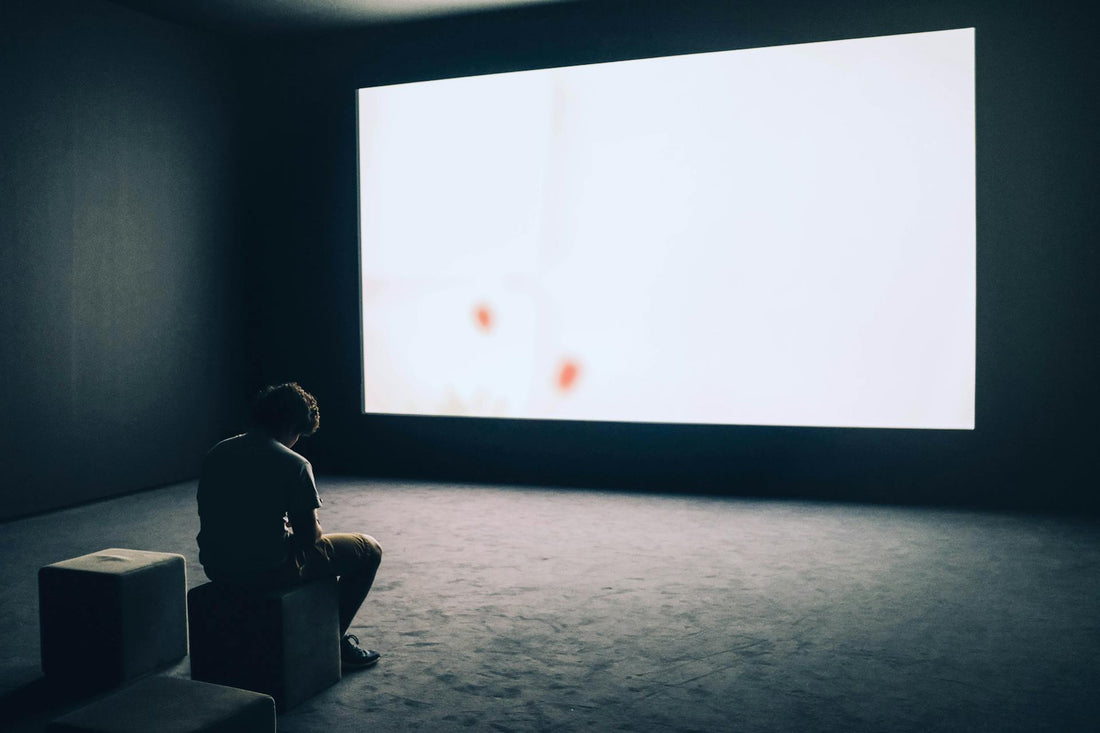
The Ultimate Guide to Setting Up Your Projector
Share
Setting up a projector can seem intimidating, but with the Screen Glow Mini Projector, it’s a straightforward process. This guide will walk you through each step so you can start enjoying your mini cinema in no time.
Main Content:
-
Step 1: Unbox and Get to Know Your Projector:
Start by unboxing your Screen Glow Mini Projector. Inside, you’ll find the projector, a power cable, remote control, and a user manual. Familiarize yourself with the buttons and ports. -
Step 2: Choose the Right Location:
Decide where you want to set up your projector. For the best viewing experience, choose a room with low lighting and a flat, white wall or a projector screen. -
Step 3: Connect Your Device:
The Screen Glow Mini Projector is compatible with smartphones, laptops, gaming consoles, and USB drives. Connect your preferred device using the HDMI, USB, or AV input. Make sure to adjust the input settings accordingly. -
Step 4: Adjust the Focus and Keystone:
Once your projector is turned on and displaying an image, use the focus wheel to sharpen the image. If the projection is slightly skewed, adjust the keystone correction to straighten it. -
Step 5: Fine-Tune Your Viewing Experience:
Adjust the volume and picture settings to your liking. Consider using external speakers for a richer sound experience.
Conclusion:
With these simple steps, you’re all set to enjoy a cinematic experience with your Screen Glow Mini Projector. Whether it’s for movie nights, presentations, or gaming, this guide ensures a hassle-free setup every time.
